7) MICROSCOPY – Adjustments
There are several adjustments, rules to follow. Use the LOWEST LIGHT and the LOWEST POWER at first. To accomplish the lowest light, you will want to do the following in order:
Find the SMALLEST opening in the disc diaphragm. That was shown on the last page, but will also be shown in the video (again) at the bottom of this page. The disc diaphragm has a series of small holes in it. Choose the hole that’s the SMALLEST. Then use the dial on the bottom, side (not under the scope but near the bottom on the side) to increase the light through that SMALL aperture, until the screen is bright enough to see your specimen on the PRACTICE SLIDE.
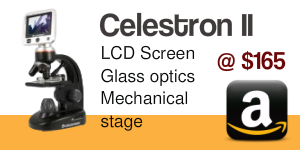
Note about the Celestron II LCD Scope – – The LCD has a TFT screen that autocorrects for the amount of light coming up through the specimen. It’s absolutely perfect for light-contrast microscopy. The iris diaphragm under the stage barely has any function at all in this model of scope, basically.
LOWEST and SHARPEST LIGHT
LOWEST MAGNIFYING POWER
ONCE YOU FIND SOMETHING, INCREASE POWER AND LIGHT


