4) MICROSCOPY – Celestron Screen
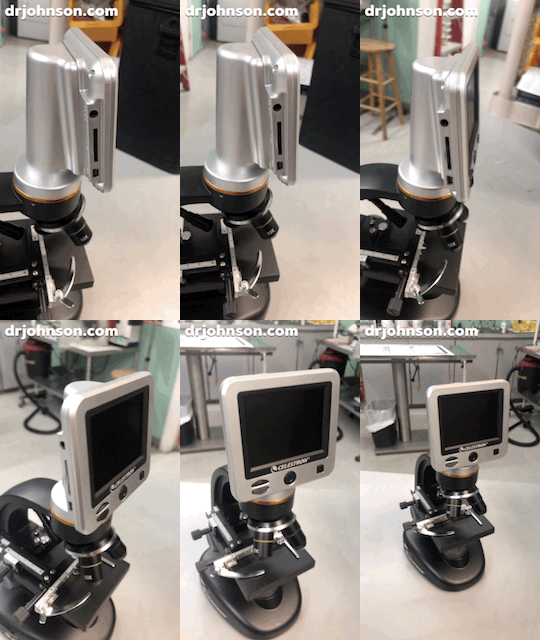
The screen is powered by the scope. The USB port on the left side of the screen is ONLY for transferring images onto the screen of your laptop, or to the HDD in said laptop. If you don’t have a card in the SD slot, you get an error – so you HAVE to have an SD card. A 1GB SD card will take about 600 5mp images.
The screen AUTOCORRECTS lighting – so the details about opening and closing the iris diaphragm (disc diaphragm) are not that important!
Once you have the SD card in the slot (it fits both ways, an “easy way” and a “slides in with minor difficulty”, way. No harm done. If the SD card slides in smooth as silk, you’re doing it right.
The power to the screen, is a button on the BACK of the screen. It’s the only button there. Tap it once and the screen comes on.
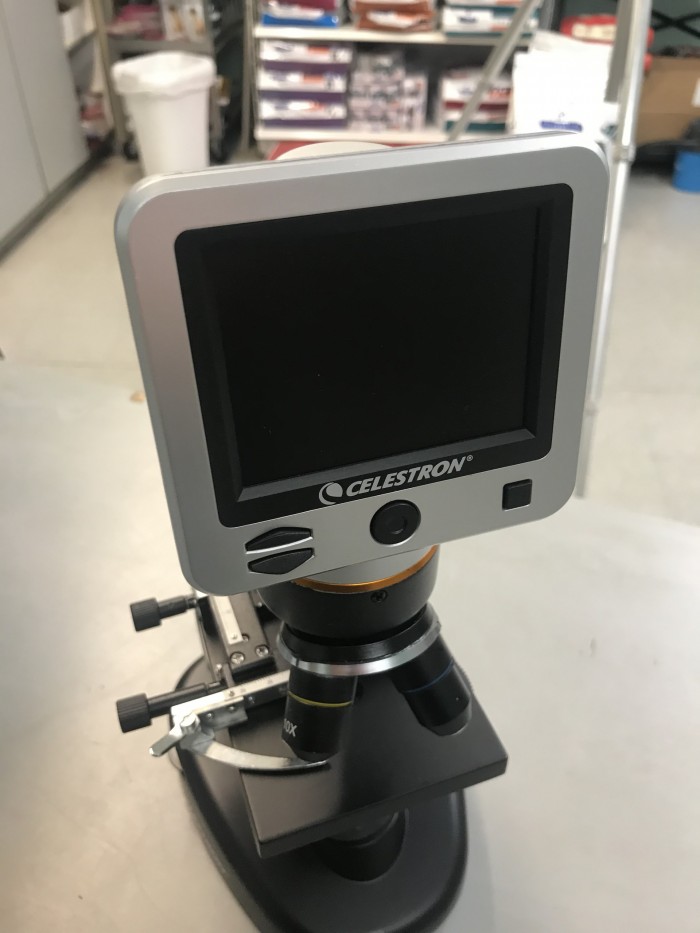
The “up and down” buttons on the left side of the screen are to magnify your image digitally. It does a good job until you get to 4x and then it’s a little grainy.
The middle button captures video. Press once to start recording video, and then press again to stop recording. There is a clear flashing signal that recording is going on. The “M” button on the right bottom of the screen is mode- – do you want pictures or video?
